
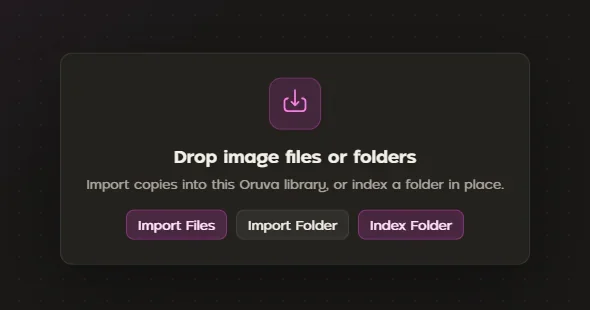
Import Files / Import Folder
Copies files into the Oruva library. Choose this when you want the library to hold its own copies. Keep enough disk space for both the originals and imported copies.
Getting started with Oruva 1.3.1
Set up a small library, send a .max asset to your application, then inspect the material graph and save the result.
Use an asset you own or are licensed to use. The example recordings show real imports; their source .max files are not included as a downloadable sample pack.
Step 01
In Oruva’s library menu, choose Create New Library… and select a location with enough free space. Give it a name you recognise.
Start with a small folder of representative assets. Once that folder looks right, add the larger collection.
A library is where Oruva keeps its catalog. You can copy files into it or index files at their original locations.
Step 02
Copies files into the Oruva library. Choose this when you want the library to hold its own copies. Keep enough disk space for both the originals and imported copies.
Catalogs files where they already live. Choose this for an existing organised collection. Keep its drive and paths available; moving the originals can break those references.
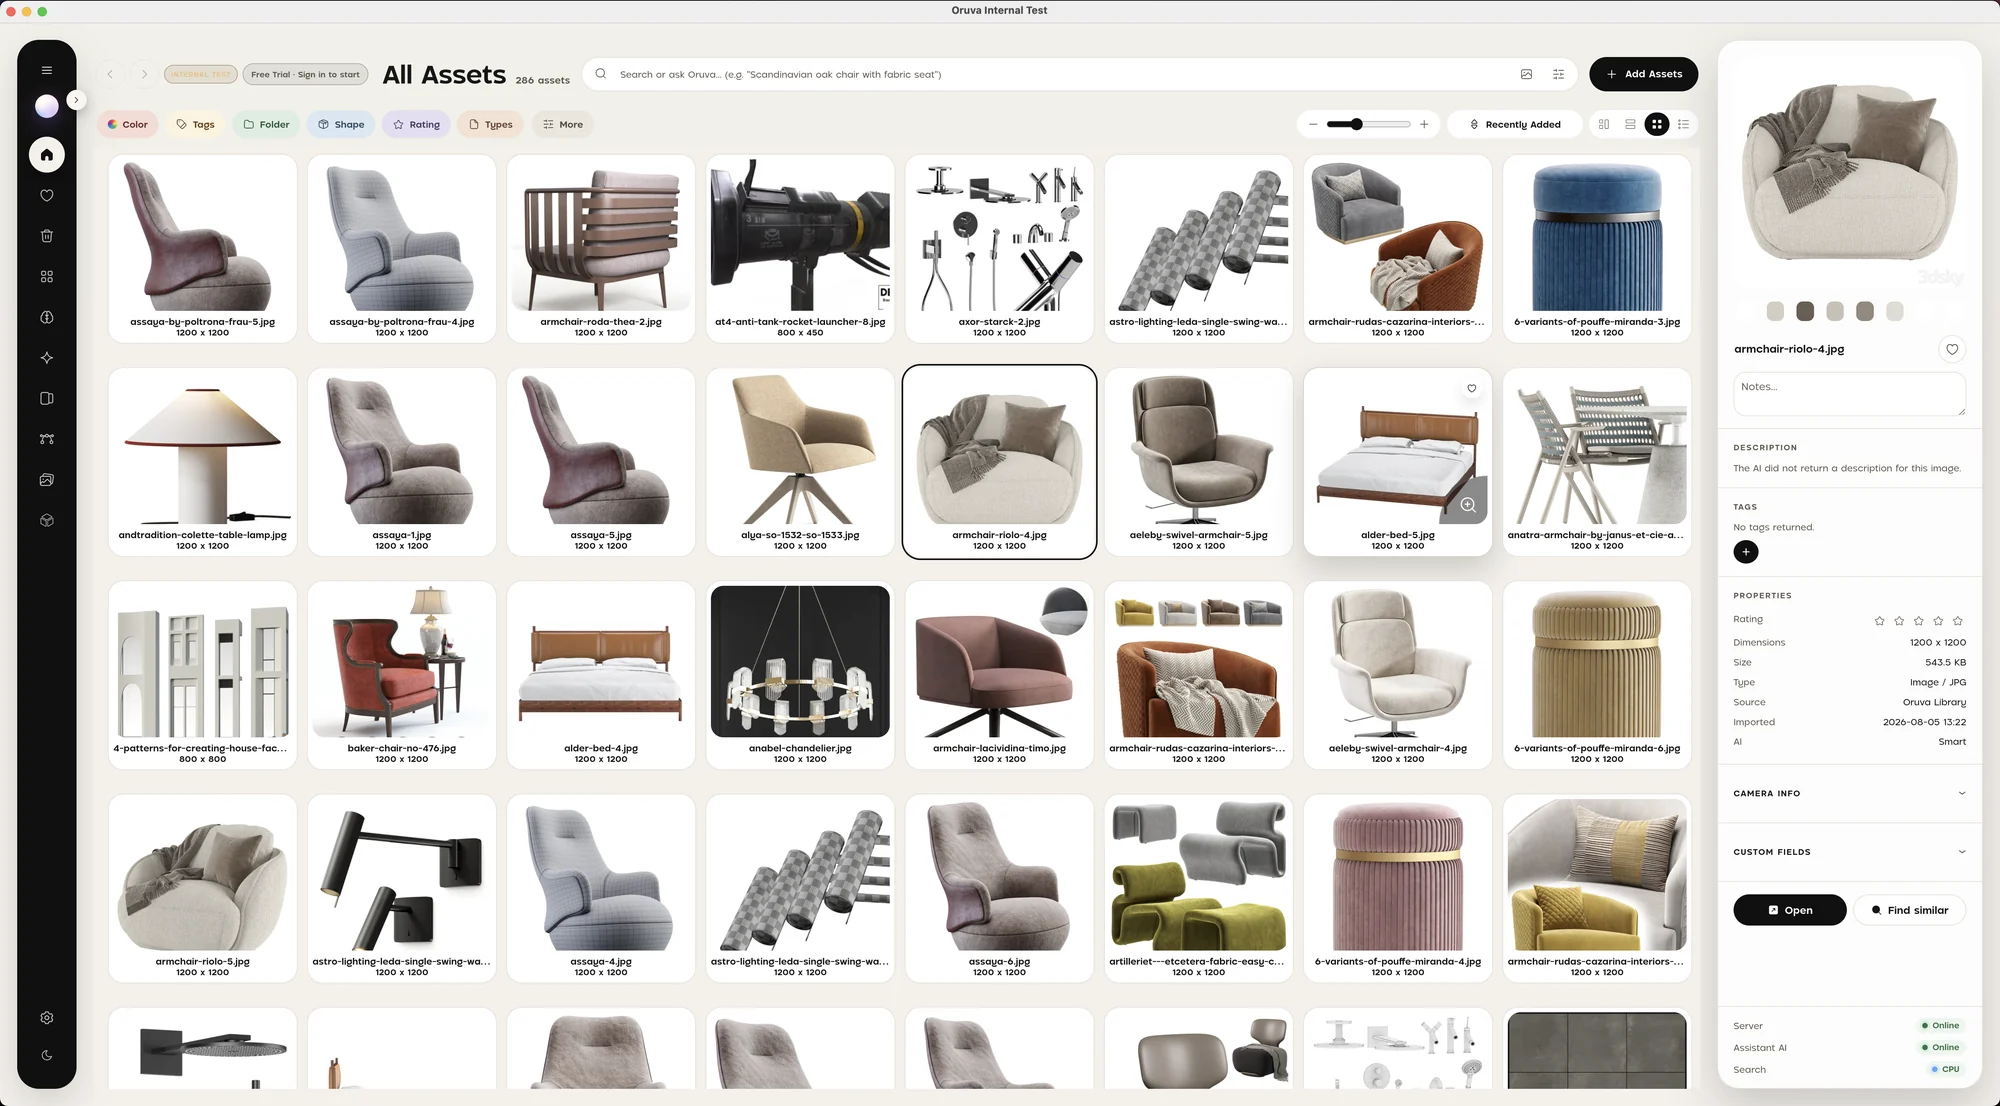
Use Add Assets or the empty-library buttons. Let the scan finish, open an asset and check its preview and file location. Keep each model’s archive or .max file with its companion textures and preview.
Step 03
If you have just updated Oruva, check for a matching connector update too. Detailed connector help.
Step 04
Use a model asset whose .max scene or archive is available. Right-click it and choose Send to, then your application and renderer. A preview image needs its associated model source; the picture alone cannot be converted.
If the archive contains multiple scenes or renderer variants, choose the one you want. Start with a V-Ray or Corona source represented in the compatibility guide.
Review found and missing references. Add the correct texture folder when prompted and recheck before delivery. Missing-texture help.
Keep Oruva and the destination open. Watch the status and wait until importing finishes before starting another send.
The 3D Generator brings those model sources together for reuse. For this first check, use one asset with its original package so it is easy to recognise the scene and materials.
Step 05
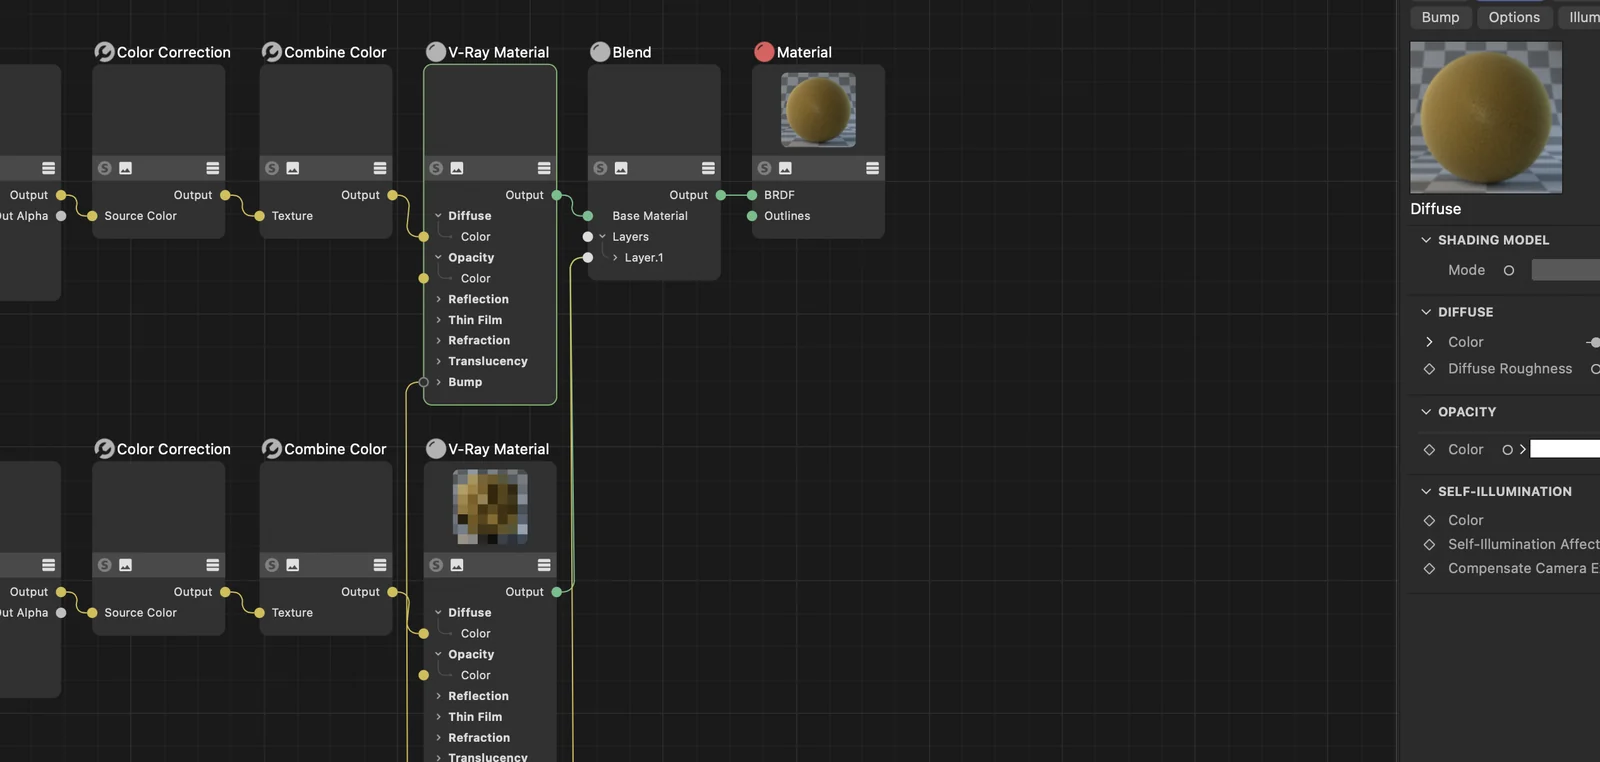
Open the imported material in your destination’s material or node editor. Check its texture connections, layers and bump or normal inputs, then run a small native render.
Step 06
Save the native scene under a new name in your destination. Use its asset-collection or texture-management tools if the project needs to move to another machine.
Reopen the saved scene and check the important materials once more. Then start editing, arranging and lighting the asset in your own project.
Send us your Oruva version, destination and renderer versions, the step that failed and its exact message. If available, include a diagnostics bundle.